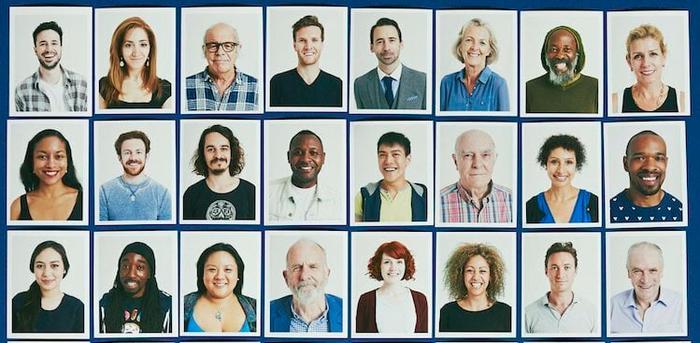
When I was in college, my career center hosted a free headshots photoshoot. Never one to pass up anything that comes free, I showed up, took my picture, popped it on LinkedIn, and assumed that would be the last time I looked at it.
Turns out that I’m bad at assumptions. That photo came in handy throughout my early career. It graced my author bio on The Muse when I was a remote intern, it was sent around the company when I started full-time so people knew who I was, and became the number one picture I grabbed from my desktop (yup, I have it saved on my desktop) when event organizers asked for a photo to advertise my speaking engagements.
Maybe you’re thinking, Speaking engagements? Please, I’m never going to need a professional headshot in my career.
But if so, you’re thinking all wrong. Because for starters, I can point to countless social media profiles I’ve come across that featured blurry or inappropriate profile pictures (or worse, gasp, no photo at all!) and this affected whether or not I wanted to reach out and collaborate with them. After all, if someone can’t take one clear photo, how could I trust them with my limited budget?
For another thing, a nice headshot can be useful for so many situations:
- Your email account
- Your email signature
- Your LinkedIn, Twitter, Facebook, and Instagram photos
- Your personal website or your portfolio
- Your guest posts or bylines
- Your company bio that more and more companies send out when you start
- Your entire professional life. Trust me, at some point in your career, you will want to have this on hand.
Convinced? Great, now it’s time to take one. And the good news is that, it’s really easy.
Step 1: Pick out a shirt that you feel confident in. Pro-tip: avoid the patterns, the dayGlo, anything too seasonal, and anything that you’d wear out to a party.
Step 2: Grab the newest phone you can get your hands on and a friend.
Step 3: Find a plain, but ideally interesting backdrop. For example, a brightly painted wall. Avoid posing in front of windows or busy backgrounds (like a city street) unless you’re a lighting and photography editing pro.
Step 4: Smile and take the photo. Then do it again. Take lots of shots so you can pick your favorite.
Step 5: Save it and use it for everything.
Of course, you can take steps to make it even nicer by using a camera, editing it on Photoshop, or hiring someone (this can be a super valuable investment if you think you’ll need a headshot a lot), but that’s the general gist. You can also read this article for more DIY tips for taking the perfect shot.
But whatever you do, make sure you have one handy—and update it every couple of years. It costs you little to make and will save you from having to scrounge through old Facebook albums and crop a red Solo cup out of your hand when the time calls.
Not sure what a professional headshot should look like? Check out our Pinterest board for inspiration: